
cutting coving mitres, check these out | What angle should coving be cut?
By Sarah Oconnell
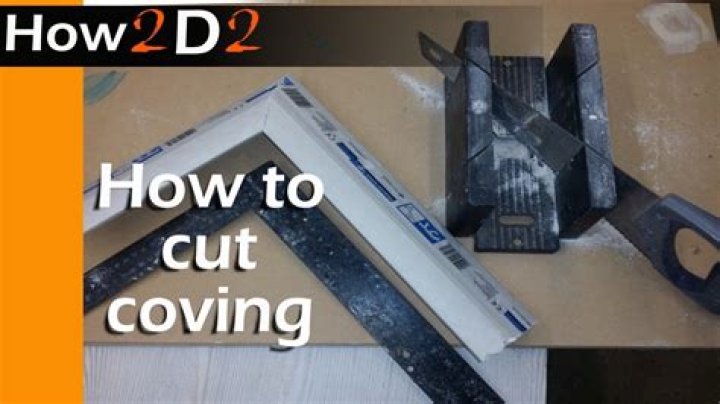
What angle should coving be cut?
Simply cut at a 45 degree angle from bottom right to top left of the mitre box. The piece of coving to the right of the saw blade can be discarded.
Can you cut coving without a mitre block?
This video shows how to cut an internal mitre (for a corner that goes into a wall), without a Mitre Box: Make sure you have the cornice the correct way up. Use a saw to cut from the bottom edge of the coving to the top edge, taking away to create the internal mitre.
Will no more nails stick polystyrene?
The strong instant grab adhesive makes the use of nails and screws obsolete for most DIY jobs and projects. It holds instantly and even adheres reliably and permanently on heavy construction materials. These include wood, plaster, concrete, brick, stone, metal, polystyrene, ceramic and PVC.
How do you cut polystyrene?
Use a waxed serrated kitchen knife to cut Styrofoam.
Cut the polystyrene foam with the serrated knife using long, sawing motions. Keep steady, even pressure on the knife throughout the sawing motions to reduce the chances of breaking or crushing the Styrofoam.
Is polystyrene coving any good?
Polystyrene coving is often thought to be the cheaper choice, so it’s ideal for smaller budgets or if you just want a smaller, plain profile. Polystyrene coving is a more lightweight coving material, but it’s also quite soft and delicate. This material is easily damaged and requires great care to fit.
What angle do you cut cornice corners?
Cornice is normally cut at a 45 degree angle, assuming your walls are square. The easiest way of doing this is to use a mitre box. Some cornice or coving comes with pre-cut or pre-formed corners which makes the process of joining two lengths a lot easier.
How do you make a coving mitre template?
Preparation
Step 1 – Cut template. Using the fine tooth saw, cut a 150mm (6″) section of coving to use as a template.Step 2 – Mark coving position. Position the template you have just cut so it sits where the ceiling and wall meet. Step 3 – Prepare wall and ceiling. Step 4 – Determine type of cut.
Related Archive
More in general 
harry potter wizarding world japan, latest free online harry potter movies, best HD videos you should watch in 2022 – 2023

harry potter vs voldemort in the deathly hallows, latest free online harry potter movies, best HD videos you should watch in 2022 – 2023